


There’s something magical about turning a cherished photo into a handcrafted embroidered keepsake. Whether it’s a portrait of a loved one, a beloved pet, or a special memory, converting a photo to an embroidery pattern adds a personal touch that store-bought gifts can’t match.
The best part? You don’t need to be a professional artist or digitizer to do it. With the right tools and techniques, anyone can convert photo to embroidery pattern. In this guide, we’ll walk you through the entire process—from choosing the right photo to stitching the final piece—so you can create heartfelt, one-of-a-kind gifts with ease.
Why Turn a Photo into an Embroidery Pattern?
Before diving into the “how,” let’s talk about the “why.” Personalized embroidered gifts stand out because:
✔ They’re Unique – Unlike mass-produced items, a custom embroidery piece is made just for the recipient.
✔ They Carry Emotional Value – A stitched portrait of a family member or pet feels more meaningful than a printed photo.
✔ They Last for Years – High-quality embroidery holds up better than ink on paper or digital displays.
✔ They’re Versatile – You can stitch photos onto pillows, tote bags, jackets, quilts, and more.
Whether it’s for a birthday, anniversary, wedding, or just because, a photo-to-embroidery gift is a surefire way to make someone feel special.
How to Convert a Photo to an Embroidery Pattern (Step-by-Step)
Step 1: Choose the Right Photo
Not all photos work well for embroidery. The best candidates are:
- High Contrast – Clear light and dark areas translate better into stitches.
- Simple Backgrounds – Busy backgrounds can make the design messy.
- Well-Lit & Sharp – Blurry or overexposed images lose detail when digitized.
Pro Tip: Black-and-white or stylized (like watercolor or sketch filters) photos often convert better than full-color images.
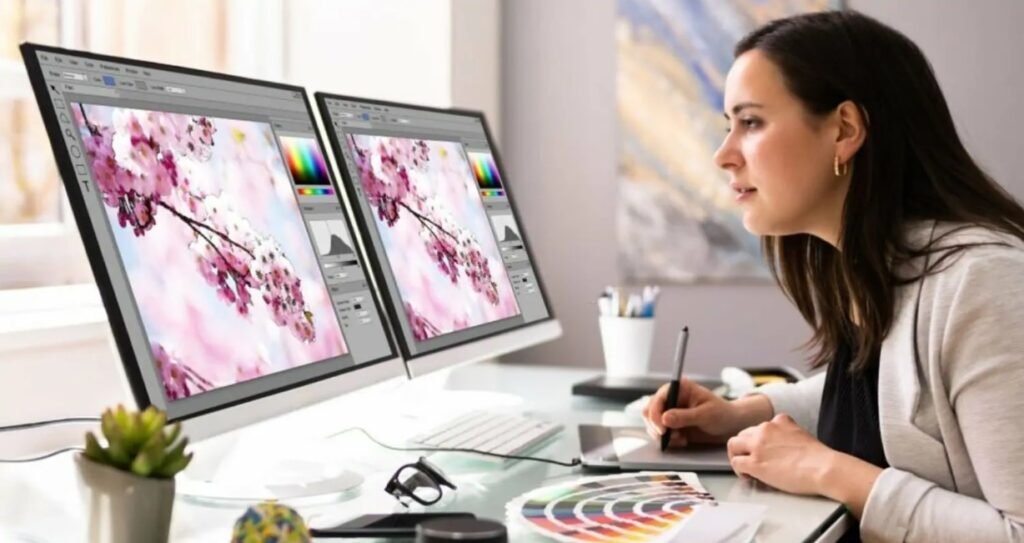
Step 2: Edit the Photo (If Needed)
Before converting, you may need to tweak the image for better results. Free tools like GIMP, Canva, or Photoshop Express can help with:
- Increasing contrast (so details stand out)
- Removing backgrounds (for a cleaner look)
- Simplifying colors (fewer shades = easier stitching)
Step 3: Convert the Photo to an Embroidery File
This is where digitizing comes in. You have three main options:
Option 1: Use Free Digitizing Software
Programs like Ink/Stitch (for Inkscape) or SewArt let you manually trace and convert images into stitch files. They’re great for simple designs but require some patience.
Option 2: Try Auto-Digitizing Websites
Some online tools, like Embroidery.io or StitchBuddy, offer quick (but less precise) auto-digitizing. Upload your photo, adjust settings, and download the embroidery file.
Option 3: Hire a Professional Digitizer
For the best results—especially for portraits—services like Digitizing Buddy or Cool Embroidery Designs can turn your photo into a flawless embroidery pattern for a small fee.
Step 4: Test the Design Before Stitching
Before embroidering on your final fabric, stitch a test run on scrap material. This helps you spot issues like:
- Thread tension problems
- Missing details
- Puckering fabric
Make adjustments to the design if needed.
Step 5: Embroider the Final Piece
Now for the fun part! Load your embroidery machine with the right thread colors and stabilizer, then stitch away. For hand embroidery, print the pattern onto sticky stabilizer or trace it onto fabric with a water-soluble pen.
Best Fabrics & Threads for Photo Embroidery
Not all materials work well for detailed photo stitching. Here’s what we recommend:
✅ Fabric: Tightly woven cotton, linen, or canvas (avoids distortion)
✅ Stabilizer: Cut-away for durability, tear-away for lightweight fabrics
✅ Thread: Polyester or rayon for vibrant colors, cotton for a softer look
Avoid stretchy fabrics (like jersey) unless you’re experienced—they can warp the design.
Creative Ways to Use Photo Embroidery
Once you’ve mastered the process, the possibilities are endless. Here are some unique gift ideas:
- Custom Family Portraits – Stitch a family photo onto a wall hanging.
- Pet Memorials – Embroider a beloved pet’s face onto a pillow.
- Wedding Keepsakes – Turn a couple’s engagement photo into a framed hoop art.
- Personalized Apparel – Add a portrait to a denim jacket or tote bag.
Common Mistakes to Avoid
❌ Using a Low-Quality Photo – Pixelated or dark images won’t stitch well.
❌ Skipping the Test Stitch – Always check the design before committing.
❌ Choosing the Wrong Fabric – Stretchy or loosely woven fabrics distort designs.
❌ Overcomplicating the Design – Simple, bold lines work better than tiny details.
Final Thoughts
Turning a photo into an embroidery pattern is easier than ever, thanks to modern digitizing tools and accessible tutorials. Whether you’re stitching by hand or using a machine, the result is a personalized, handmade gift that carries far more meaning than anything store-bought.
Ready to give it a try? Pick a favorite photo, follow these steps, and create something truly one-of-a-kind. And if you’re not confident in your digitizing skills, don’t hesitate to use a professional service—sometimes, outsourcing the tricky part is the best way to ensure a perfect finish.
Have you ever tried photo embroidery? Share your experiences (or questions) in the comments!


