

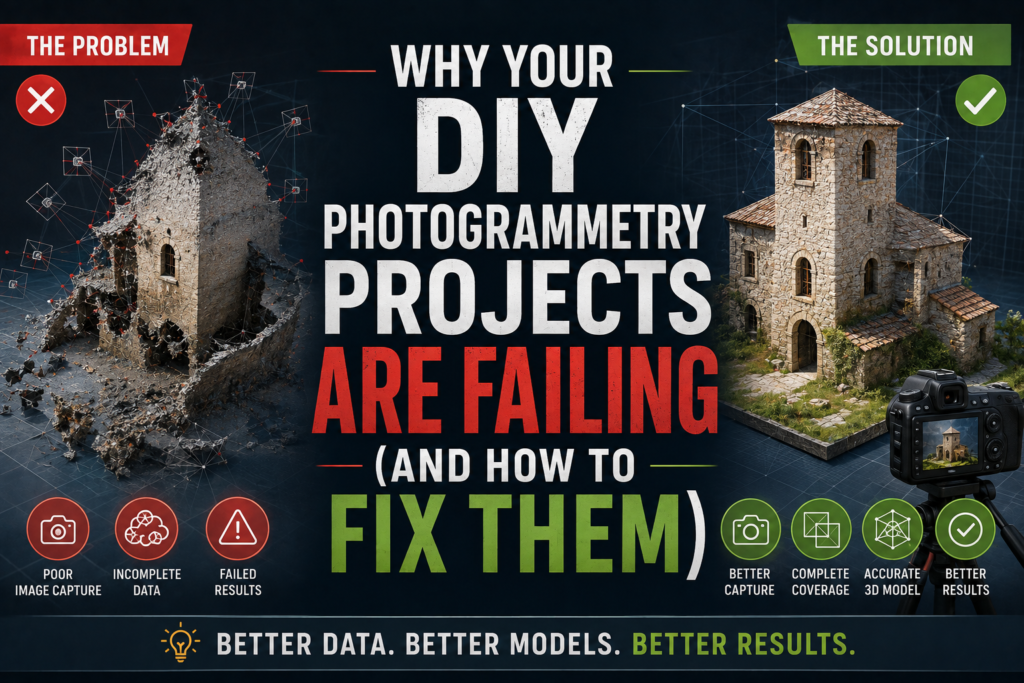

Someone downloads a free photogrammetry app, takes a handful of photos of their product, and hits “process.” They wait. The result is a blurry, incomplete point cloud with gaps where they expected geometry. The mesh, if it generates at all, is distorted and unusable. They conclude photogrammetry doesn’t work, move on, and never try again.
This experience is more common than it should be. Photogrammetry technology is powerful and genuinely accessible now the same tools professionals use are available to anyone. The failure isn’t usually the technology. It’s usually a handful of avoidable mistakes in how the photos are captured or processed.
The Capture Mistakes That Doom a Photogrammetry Project
Most failed photogrammetry projects fail during the photo capture phase, before processing even begins. The software can’t create good geometry from bad input data, no matter how sophisticated the algorithm is.
Not enough overlap between images. Photogrammetry works by finding matching features across multiple photos and triangulating their position in 3D space. If consecutive photos don’t overlap enough, the software can’t establish those matches, and the reconstruction fails. A common mistake is taking photos too far apart or from positions that don’t create sufficient overlap. The result is gaps in the point cloud or complete reconstruction failure.
Insufficient angle coverage. Taking photos only from one elevation, say, all from eye level means large sections of the object are never captured. The software can only reconstruct what’s visible in the photos. An object photographed only from the front has a hollow back. Proper capture requires circling the subject at multiple heights.
Lighting inconsistency that breaks feature matching. Photogrammetry algorithms look for distinctive features to match across images. When lighting changes dramatically between shots, those features can look different enough that the software doesn’t recognize them as the same point. The result is either failed alignment or a twisted, distorted reconstruction. Consistent, even lighting throughout the capture session is essential.
Shiny, reflective, or featureless surfaces. Surfaces without visible texture, polished metal, smooth plastic, white walls don’t have distinctive features for the algorithm to match. The software gets confused trying to track matches across images. Glass, mirrors, and transparent surfaces are especially problematic. Low-texture surfaces need either different lighting approaches (reflective surfaces work better with diffuse, soft lighting) or deliberate surface treatment (some professionals lightly dust reflective surfaces to create texture).
Blurry or out-of-focus images. Every photo in the sequence needs to be sharp. A blurry image looks like a different object to the feature-matching algorithm. Mix of sharp and blurry photos produces a confused reconstruction with gaps and distortions where the blurry images were used.
Moving or changing subject. Photogrammetry assumes a static subject. If a person moves, an animal shifts, or the subject rotates, the software registers these as different positions of the same features, creating a twisted or distorted reconstruction. The capture session needs complete subject immobility.
Processing Mistakes That Create Bad Results From Decent Captures
Even if the capture was done well, processing mistakes can still ruin the output.
Over-processing with mismatched settings. Photogrammetry software has quality and density settings. Ramming every slider to maximum might seem smart, but it often introduces noise, distortion, and false geometry. Matching processing settings to the quality and resolution of the input photos produces better results than blindly maximizing every parameter.
Not removing obviously bad photos before processing. If a photo is clearly out of focus, poorly exposed, or captured at an angle that breaks overlap continuity, removing it before processing often improves the reconstruction. The software doesn’t automatically exclude bad inputs; it tries to use everything, and bad photos can throw off the entire alignment.
Expecting too much precision from limited data. Consumer smartphone cameras and entry-level DSLR captures have resolution limits. A photogrammetry model from 30 smartphone photos will never match the detail level of a model created from 200 high-resolution DSLR images. Setting realistic expectations about what the capture can deliver prevents disappointment.
Ignoring alignment warnings. Most software flags alignment issues, cameras that couldn’t be positioned, areas of low confidence, etc. Ignoring these flags and proceeding anyway usually produces a compromised reconstruction. Addressing alignment issues before proceeding to mesh and texture generation saves hours of processing time and produces better results.
What Actually Separates DIY Attempts From Professional Results
The difference between a hobbyist photogrammetry attempt and a professional result usually isn’t the software. It’s usually the process:
Professionals plan the capture. They think about lighting, background, camera positions, and overlap requirements before starting. A DIY attempt often is more “let me just take some photos and see what happens.”
Professionals control variables. Consistent lighting, a clear background, a fixed subject, careful attention to overlap these aren’t accidents. They’re deliberate choices made before capture begins.
Professionals review and iterate. If an initial capture didn’t work, they understand why and capture again with adjustments. A DIY attempt that fails often results in abandoned attempts rather than refined technique.
Professionals know their tool’s limits. They understand when a subject is unsuitable for photogrammetry (a mirror, polished metal without surface treatment, transparent glass) and either adjust technique or use a different approach.
Professionals optimize post-processing. They don’t just hit “process” and hope. They adjust parameters based on source photo quality, clean up obviously bad captures, and review outputs for issues that need addressing.
Why This Matters
Photogrammetry is legitimately powerful; it can document spaces quickly, create 3D assets efficiently, and eliminate expensive manual modeling for certain applications. But it only works well when done correctly. A DIY attempt that fails because photos were taken wrong or processing parameters were wrong creates an unfounded skepticism about the technique itself. The problem wasn’t photogrammetry; it was execution.
For anyone serious about learning photogrammetry whether for real estate documentation, product photography, archaeology, or any other application understanding the common failure points and how to avoid them transforms results. This complete guide to creating 3D models from photos walks through the full process systematically from capture planning through processing optimization which is exactly what separates a random attempt from a methodical approach that actually produces usable results.
The Bottom Line
Photogrammetry doesn’t fail because the technology doesn’t work. It fails because capturing the right image data requires planning and discipline that casual attempts don’t include. Once you understand what the software actually needs to work with overlapping, well-lit, consistently exposed, sharp images of a static subject the process becomes predictable and results become reliable. The technology is ready. Most failures trace back to the human side of the process.